Arduino appeared in 2005 and immediately became widespread among developers of hardware and software systems. Hernando Barragán and Massimo Banzi presented a successful solutions platform, which is still developing dynamically today.
Unlike microcontrollers and boards with microprocessors that existed then, Arduino presented a superb solution from a hardware point of view and gave developers the Arduino IDE universal development environment for free.
The subsequent versions of the Arduino-compatible controllers also worked well with the universal programming language code from the Arduino IDE (which is very light in syntax and close to the C programming language).
This played a massive role in popularizing the Arduino controller platform and the Arduino IDE-based firmware development environment.
Since the Arduino IDE provides an excellent opportunity to create fast and efficient microcontroller codes, separated from the internal architecture of the hardware implementation, many novice developers choose this platform for their home projects. Professional versions of boards compatible with Arduino—an open-source electronic prototyping platform enabling users to create interactive electronic objects—have become widespread in small-scale and custom devices.
It is also worth mentioning the Arduino cloud system, which allows you to collect data from sensors and build a backend for solutions based on Arduino boards and compatible with them.
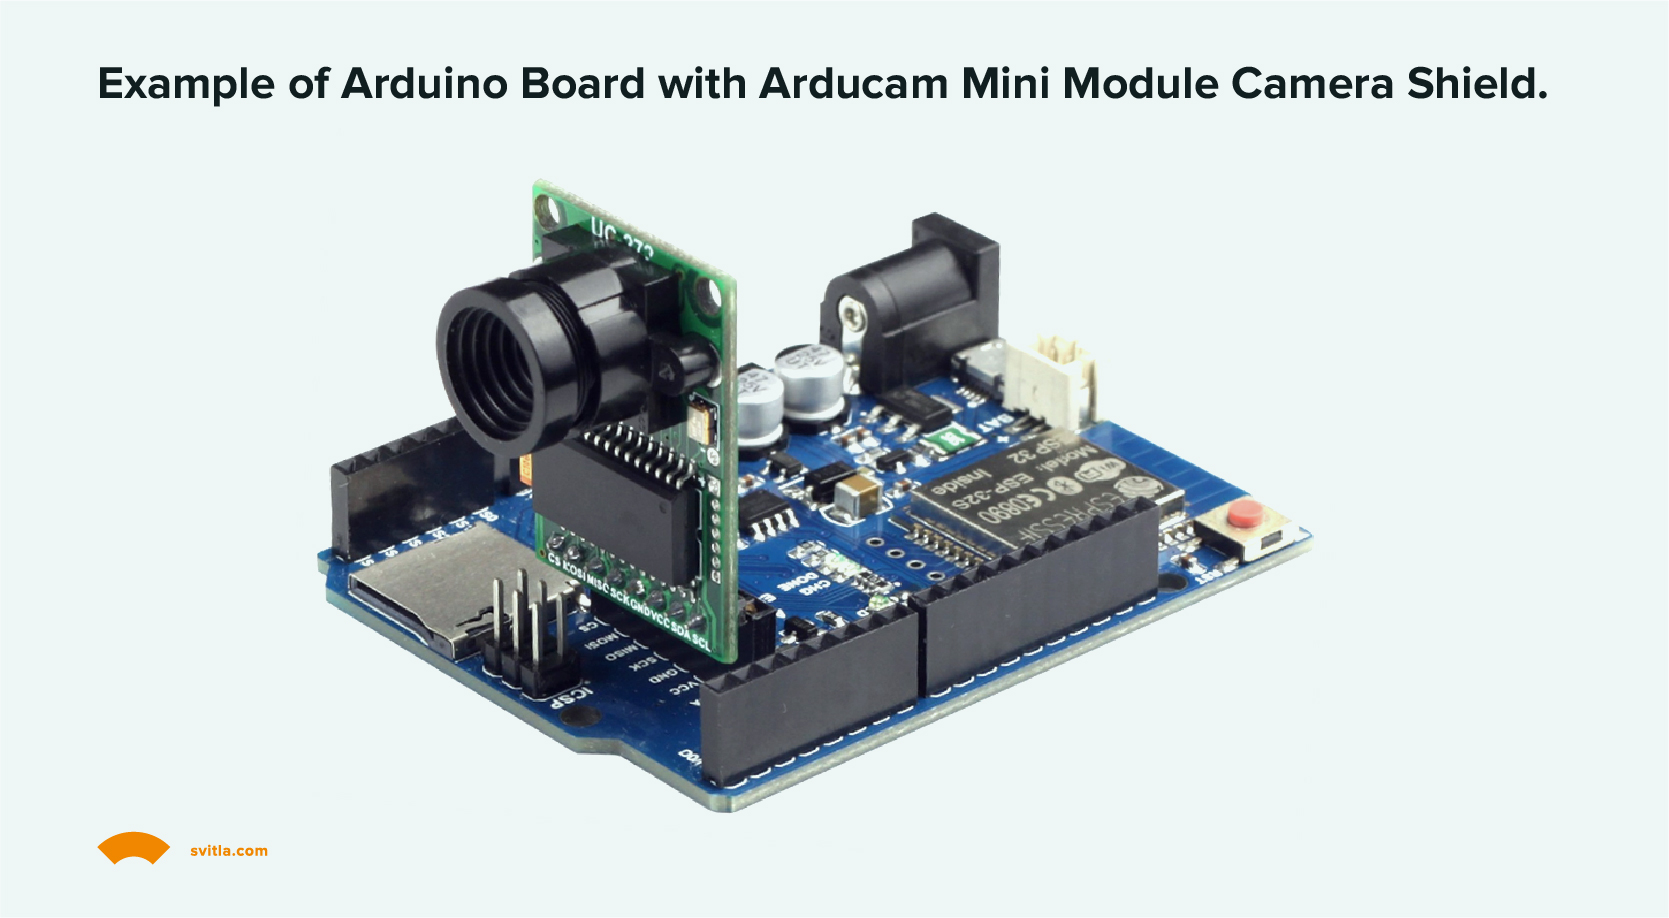
What are Arduino Shields?
Arduino by itself would not have become so popular without its outstanding collection of so-called shields that can be attached to the main board without a soldering iron. In addition, shields can be stacked on top of each other and work with several shields simultaneously.
Thus, as in LEGO bricks, you can create the necessary combination of additional boards that contain, for example, control devices, Ethernet, WiFi, and GSM network cards for wireless internet or sensors. Since Arduino can work with SPI and I2C protocols, you can connect a wide range of external devices in sufficient quantities and control them from one Arduino controller.
Types of Arduino Shields
Let's now review what the main types of shields are and what tasks they can solve. According to the types of use, they can roughly be divided into two types: sensor shields and control shields (or combinations thereof).
GPS and Navigation Modules
Satellite navigation modules combined with inertial position and acceleration sensors allow you to create beautiful devices for moving platforms. At the output of such shields, you instantly receive the necessary information in a convenient form, which can be immediately used in your graph for an Arduino device.
Communication Shields
Communication shields allow you to integrate with other computing systems, both wired and wireless. Communication shields provide data exchange capabilities with USB devices, Ethernet, WiFi, a CAN bus shield, GSM/GPRS, Bluetooth, and more. Some shields can transmit data in radio protocols and infrared communication solutions.
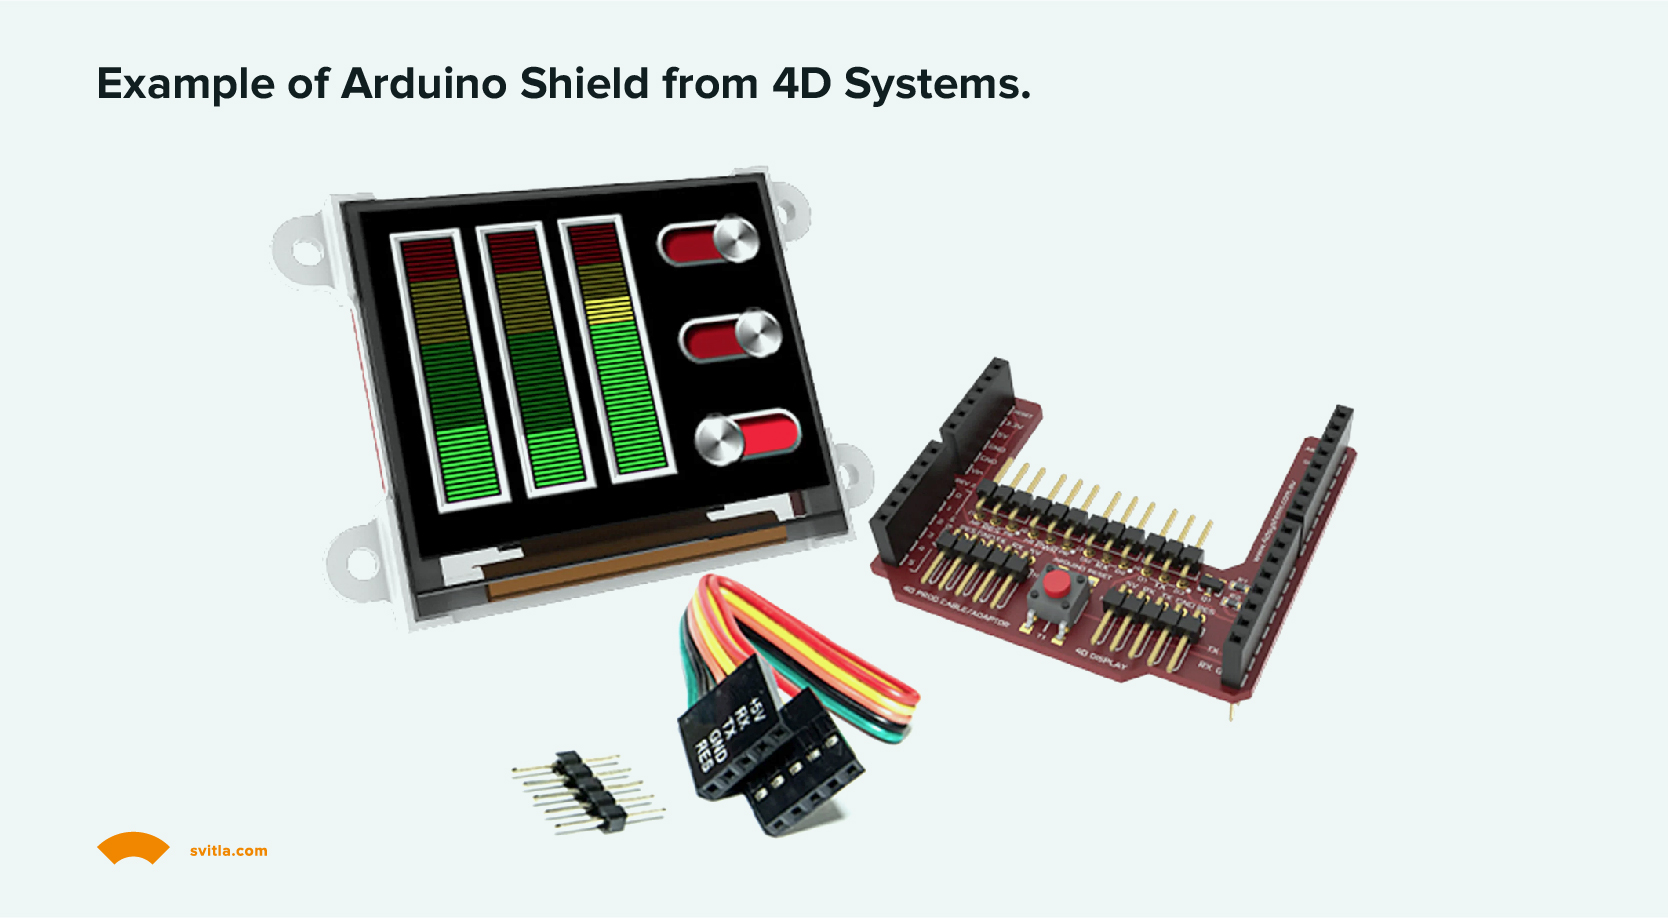
Information Displays
How can users do without the output of alphanumeric and graphic information? To do this, users can use the so-called display shields. Depending on the task, you can use displays with different resolutions for presenting information in monochrome or color. In addition, e-ink displays are available, which provide you with low power consumption. You can order a shield with LCD, OLED, TFT, or E-ink display type.
Peripheral Boards
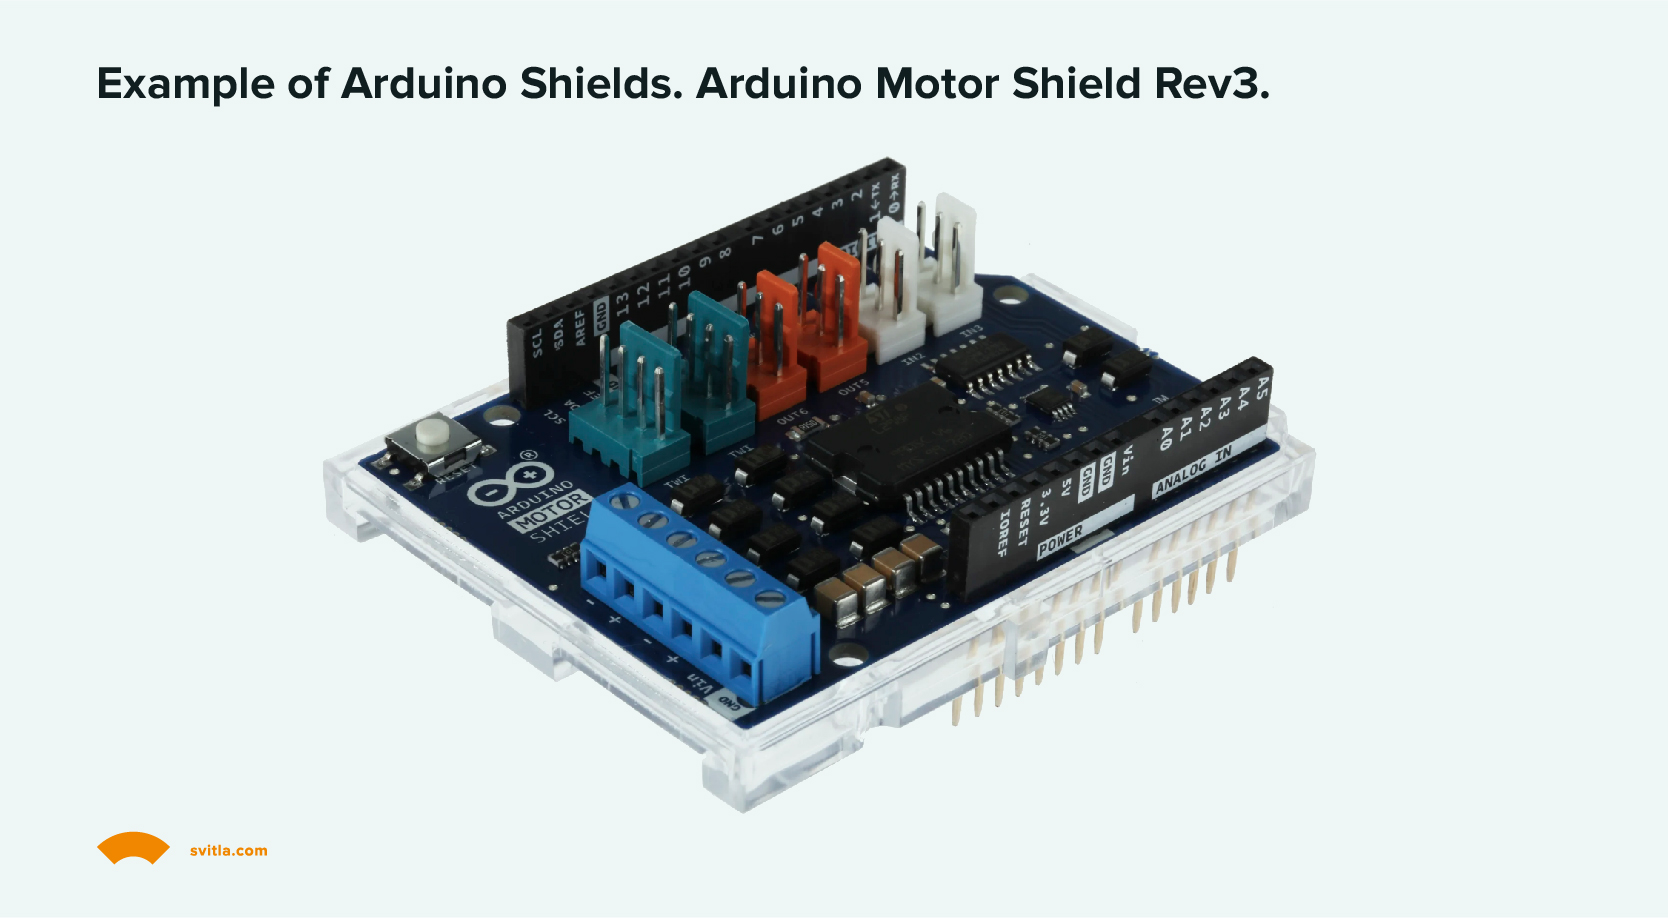
Since the output level from the Arduino board is low power, you will not be able to control peripherals such as stepper motors directly. You can use various peripheral shields to match the input-output signals from multiple devices (say, memory cards) or control high-power loads. This can be, for example, a 110/220-volt load on or off shield or a PWM DC load control shield.
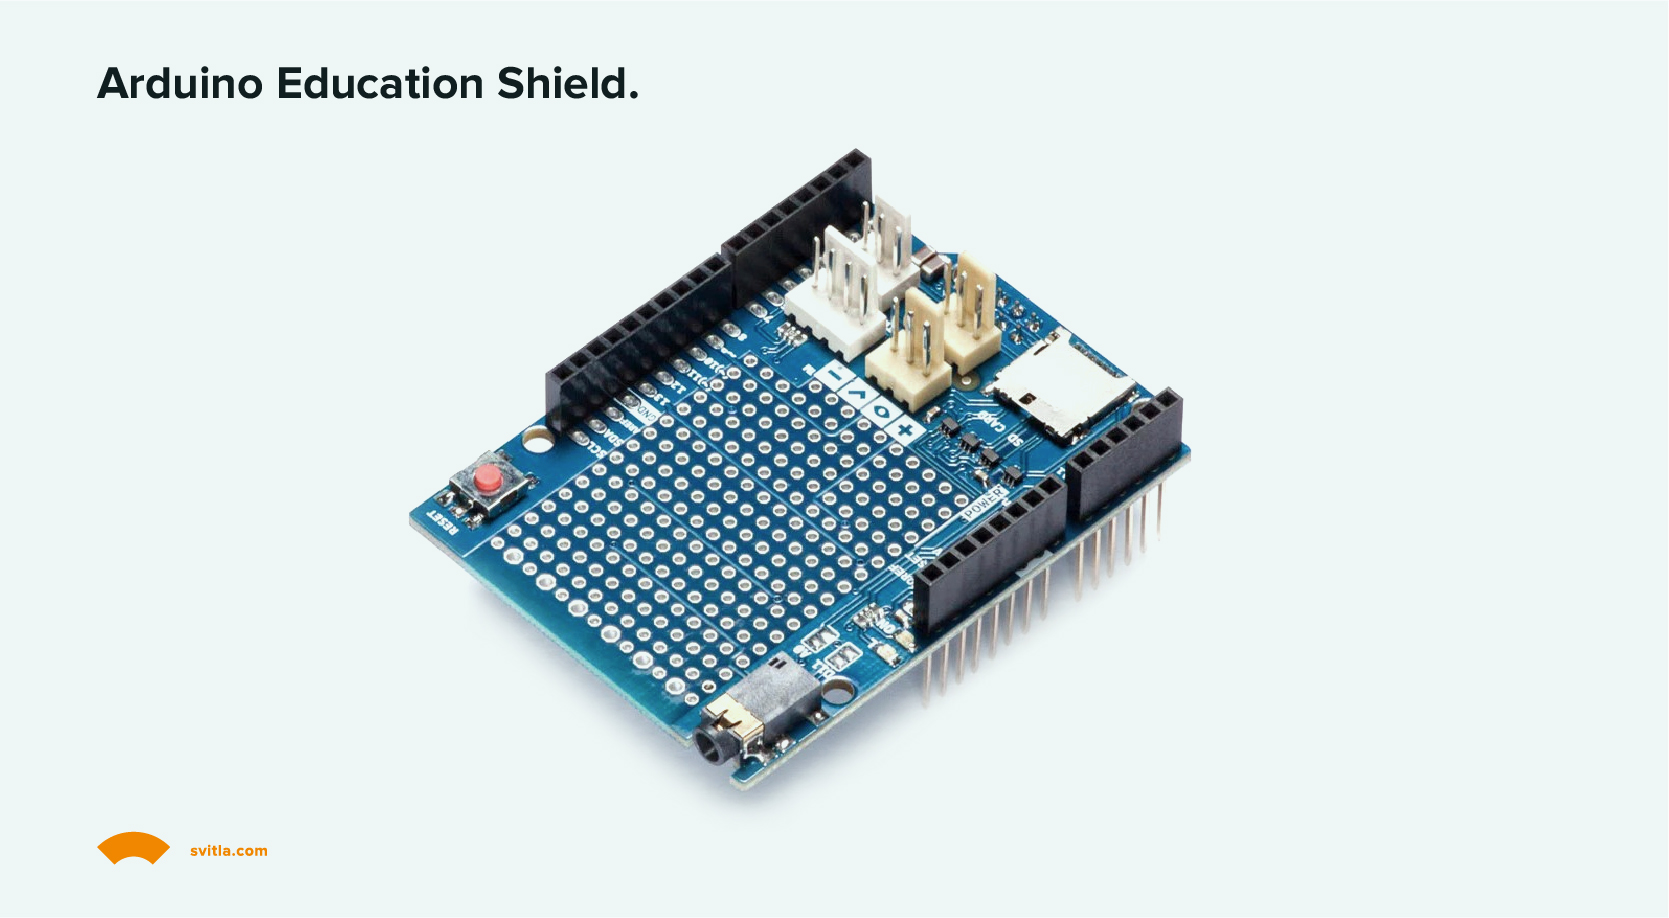
Prototyping Shields
If you need to make some device of your own and you decide to develop your shield? With Arduino, this is not an issue. You can take the so-called peripheral shield and assemble the necessary hardware solution from its components. Very well suited for creativity and experiments, home projects. However, this option may require soldering parts to the prototyping shield, so you get reliable contacts and your board looks neat and ready for use.
Power Shields
Some projects require a variety of power supplies with different currents and voltages. To power, for example, a device with a voltage (or current) different from the standard voltage that is on your Arduino board, you can use the power shield. For example, there are power shields that provide a voltage range from 1.25-12V with 3A peak current and other solutions.
Audio, sound, voice, mp3
If your project involves working with sound, input, and output of audio information, don't worry, you can also find a ready-made audio shield for your task. Not only that, but in order not to overload the resource of the central processor on the Arduino board, some solutions immediately work with the MP3 format and allow you to compress and decompress audio data directly on the shield. But that is not all. If you want to create your unique musical instrument, there is a solution. You can find a suitable MIDI shield and build an Arduino device.
Other Popular Arduino Shields
In other words, you can find almost any shield to suit your needs. There are many manufacturers of shields for Arduino, such as Sparkfun or, say, Waveshare, DFRobot, and others.
Types of Arduino Sensors
Among such a variety of shields, you can find almost any necessary equipment. But that's not all, as you can connect an incredible number of sensors to Arduino. It can be incredible when you combine various sensors attached to an Arduino board. For example, a temperature sensor is now present in almost any device.
How can I combine different sensors connected to Arduino? This is quite simple since the I2C or SPI bus connection allows you to support hundreds of devices. You can also connect a certain number of analog sensors to Arduino; various models provide a sufficient number of pins for connection.
Let's make a table and systematize the available sensor solutions used in your Arduino projects.
| Type of Sensor | Measured parameters | Applications |
| Sound, ultrasound | These devices measure some sound parameters, and ultrasound. Ultrasound devices allow us to build distance measures, etc. | Signaling apps such as alarms, communication devices, etc. |
| Pressure | Air and liquid pressure. The precision of parameters depends on quality and price. | Height-measuring sensors, weather sensors, liquid sensors, and more. |
| For liquid | Liquid presence or absence. Humidity sensors, etc. | Weather sensors |
| PH, chemical analysis | Detecting chemical components in the substances. | Home/production measurement devices for chemical components (e.g., PH levels in a swimming pool. |
| Mechanical influence | Different sensors of mechanical pressure, banding, cracking, etc. | Electromechanical devices, robots, etc. |
| Inductive sensors | Current measurement (including invasive) | Sensors for electrical detection of power systems. |
| Magnetic field | Compass, open/close status, etc. | Magnetic field sensors like the Hall sensor for motor rotation speed. |
| Gas, smoke, dust, air quality | Different kinds of parameters for air, including detection of CO and CO2 gasses, detecting chemical particles in the air, smoke detection. | Alarm systems, air quality systems, control of automatic ventilators etc. |
| Voltage, current | Measurement of voltage and current in electrical circuits. | Measuring devices, control devices, communication with other executive devices. |
| Accelerometers, gyroscopes | Determining the position in space, determining the location of the trajectory of movement in space. | Multicopters, drones, robots, etc. |
|
Temperature, humidity | Measure temperature and air humidity. | Smart Home devices, ventilation systems, etc. |
| Movement, distance | Movement sensors for large and close distances. | Home security, robots, machinery. |
| Lighting, IR, fire, ultraviolet | Optical parameters, measurement of light, colors, IR, etc. | Home security, robots, weather stations, control systems, telemetry, etc. |
| Medicine, health | Blood pressure, heartbeat, ECG of heart, muscle movement detection. | Medical sensors for blook pressure, heartbeats per minute, etc. |
Arduino controller platform and Code Examples
Another element worth mentioning is that you do not need to write code from scratch for all these shields and sensors. For all shields (without exception), you will find ready-made libraries and examples of using program code in Arduino. For instance, one recent, vastly famous example is ChatGPT.
You operate with large building blocks to quickly and efficiently implement your tasks. You do not need to write a bunch of code for integration with sensors, displaying alphanumeric and graphical information on displays, communication protocols for data exchange, integration with cloud systems, quality assurance, etc.
This is what the Arduino platform is valued for; with good support from the program code and the library, it would be easier to program and debug.
Unleashing Your Creativity with Arduino Shields and Sensors
You have a huge space for creativity using various Arduino shields, sensors, and actuators. Moreover, the threshold for entering the mastery of these devices is quite simple. Therefore, many universities use Arduino with shields and sensors in their student training programs.
The affordability of this family of devices, the prevalence, and the availability of a considerable amount of literature and training materials enable you to create beneficial systems without resorting to soldering or designing printed circuit boards. This solution was very timely for a particular niche of devices and continues to develop further.
If you want to create a microcontroller project but don't know where to start, Svitla Systems can help. As a leading IoT software development company, Svitla Systems has extensive experience in developing embedded systems.
Our team can provide support at every stage of the development process, from ideation to prototyping to the final ready-to-use system. We can help you select the right hardware components and program the microcontroller to bring your project to life. Additionally, we can assist with testing and quality assurance to ensure your project functions flawlessly. With Svitla's expertise in embedded systems development, we can help you achieve your goals efficiently and cost-effectively.
Whether you're looking to create a custom IoT device or a complex control system, Svitla Systems has the knowledge and experience to make it work. Contact us today to learn more about our services and how we can help you with your IoT/microcontroller project.